Friday, March 30, 2012

Dolch Tracing Word Cards

 
K. is 5 years old and we've been exploring with reading and writing for quite awhile.   She has been showing more interest and quite a bit of progression these last few weeks with her reading and writing and I've been on the look out for a few things that point to her being ready to step it up a bit.  And this last week...I saw the last two I was looking for.  Perfect timing!  That gives me a week to prepare a few individualized activities, as it's now officially spring break.

*  Over the course of the last few months I've noticed that K. is starting to write smaller and smaller.  Actually, her smaller printing is sometimes better than mine! Her confidence in letter formation (specifically watching for lowercase letter formation confidence) has grown quite a bit. 

*  I've noticed in the last month she has begun to draw lines on her writing area for when she is writing words.

*  She is noticing my informal "slip-ins" of letters and numbers on penmanship lines and is beginning to use them correctly.

*  In her reading, she has begun to recognize some of the words without having to sound them out and is very excited about it!  (Here's a smile for you... the word "ate" has been introduced in her reading lessons and this past week she'd come to that word and say, "six".  At first I was raising my eye brows and stating, "hmmm, is that a /s/ sound at the beginning?".  Then I got it!  :-D  ate-8.  She knew it sounded like a number but got 6 on the brain!)

So I've created these word cards that will introduce more formally, penmanship lines.  These will be laminated and cut apart so they can be traced and reused in various activities.  I'll share how we use them as we use them.  They'll be a part of our daily "word work".  I've included the first 81 (pre-primer and primer) in order of frequency.  If they can be of use to you, feel free to download the Sight Word Tracing Cards.

Thursday, March 29, 2012

Pete's a Pizza

Definitely a cute book and so much you can do with it!  Retelling this story with the actions is a lovely sensory activity for preschoolers and toddlers!  And yes...these types of activities are great for helping a child get out of a grump or frump.  :-P  Perfect for today.  They weren't grumpy but they weren't 100% today and the box of tissue and bottle of soap we went through today probably explained it pretty well.  Actually, at one point I told K., I'm going to give your brain a kiss and then we are going to let it take a break out in the living room.  In other words, we are done with trying to get you to focus and we'll do this stuff another day.  :-D

And our favorite activity for the day...
One blog post that is often getting "hit" is my rebus recipe post. Unfortunately, I was just starting the blog then and it was more basic info vs. something extremely helpful like actual rebus recipes! :-) Now that I know how to link a printable, I hope to share more rebus recipes for children. Cooking with children has so many benefits! Following a rebus recipe helps children internalize left to right and top to bottom progression when reading, following directions, and be successful in independently "cooking". It's a great confidence builder! You can go back and read the previous post if you wish here. There are a few other rebus recipe resource sites listed there.


 The recipe we used for dough is from All Recipes. I had planned just to thaw some frozen dough and have it ready for the children but alas, I went out to our extra freezer last night and...there wasn't any. Oops! I must have used what I thought I had in there. So quickly went searching for a no rise pizza dough. The dough I found is actually simple enough that the children could make it themselves. Very easy and pretty yummy too! I might consider doing this dough for our family but adding some herbs and such to the dough.
By: Gudny Bjorg Kjaerbo
"This one is a quick recipe that merely involves mixing a few basic ingredients and patting the dough into the pan. No need to wait for the dough to rise with this approach."
Ingredients
  • 3 cups all-purpose flour
  • 1 (.25 ounce) package active dry yeast
  • 2 tablespoons vegetable oil
  • 1 teaspoon salt
  • 1 tablespoon white sugar
  • 1 cup warm water (110 degrees F/45 degrees C)

Directions

  1. Combine flour, salt, sugar, and yeast in a large bowl. Mix in oil and warm water. Spread out on a large pizza pan. Top as desired.
  2. Bake at 375 degrees C (190 degrees C) for 20 to 25 minutes.
* I did make it ahead of time and so it sat and raised a bit. I separated it into 4 balls of dough to make 4 personal pizzas.
* We found that it's a lot easier to pat and press the dough out than use the rolling pin. But that could have been because I sprayed the pan with cooking spray.
* Plan 5-10 minutes of cooling time.
* Remember that if you are affiliated with a food program, most likely the children are not putting on the appropriate amounts of veggies/fruit (tomato sauce/pineapple) or protein (cheese/ham). So I add your fruit and veggie side dishes and a bit of yogurt (or something similar) with your meal of child made pizza. :-)
Download the Personal Pizza Rebus if you wish. Hope your children enjoy it as much as the kiddos here! I find that it's exceptionally fun for the kids to put a laminated rebus recipe in the kitchen area with corresponding materials.

I came across the book at Living Life Intentionally.  She has a free pizza themed learning pack that is great for toddlers and preschoolers.  I chose several from her pack to use today with the children.  Check it out!  Here's just a few activities that I used from her learning pack.

 
Pizza Vocabulary Word Chunks
(These same pictures are available using beginning sounds, as well.)
These pictures really sparked interest.  One point of interest was the garlic picture.  They really didn't know what it was, one child did guess onion though!  So I pulled out an onion and a garlic and we talked about them.  They were pretty excited when I opened up the garlic and let them pull apart the individual cloves.  Got a little math in there too.  How many cloves in this bulb, how many in that one?  Which has more? 

Making Pizza
I simply cut her pictures out and had the children think about how we make pizza and order them.  Neither children had them in the correct order on the first try.  But it was interesting to see them notice and correct it when I began pointing to their pictures and stating the step.  Fun!  Makes me realize that it's been awhile since I've had them tell dictate a recipe to me.  :-)  Maybe we'll get to creating a recipe book after Spring Break also!

 
Pizza Math
(Just a couple of the many math activities she has made available to us.)
On the left, K. was doing the pizza addition facts.  She chose a pizza and created the two sets using beads, then pushed the beads together and counted them again.  Then she placed the pizza next to the pizza cutter with the correct answer.   On the right, H. chose a pizza, stated the numeral, counted that many beads onto his mat and then buddiedLOL)

Shadow Matching
Perfect for toddlers!  He definitely enjoyed this and great for vocabulary!

And, of course, we turned the children into pizza!
He was very relaxed after I got done "kneeding and stretching" him.  And the lucky one too since he's light enough for me to pick up (without my chiro getting after me) and place on the couch to be "baked".  LOL  The children used various colored pom poms for different types of toppings (tomatoes, mushrooms, black olives, and green peppers) and yarn pieces for the cheese. 


Tuesday, March 27, 2012

Letter Z (Zebra Math)

Wow!  Hard to believe that we are at the end of "the alphabet". We didn't use alphabetical order this year but the last three letters did end up being X, Y and Z.  And since next week is Spring Break...it worked out perfectly!  One of today's activities and a free printable for you...

Though we could use this little kit in many different ways, my goal for the kiddos was to work with addition and subtraction signs and continue to familiarize themselves with a ten frame.  We've done plenty of hands on math story problems but now we are moving on to seeing the symbols and the more formal way of working with addition and subtraction problems. 

First, we talked about the addition and subtraction signs.  My preference is to use the terms "add and subtract" but they will also hear other ways of talking about addition and subtraction so I use those terms as well.  For the purpose of this activity I used "add more" and "take away". 
 
 Next, we worked with our ten frame a bit.  Counting the spaces on our zebra ten frame mat, putting a bean in each space (from left to right) and coming up with 10.  :-)  When all the spaces are filled, the number is ten.  Then we "took away" the bottom row of beans and counted five.  When only the top row is filled it equals five.  Then we "added" the bottom row of beans again (5 more) and reinforced that 5+5=10 and when all the spaces have a bean, the number is 10.
Then, I brought out our zebra number circles.  We went through them, naming the number and putting them in order from 1 to 20.  We found number ten and noticed the numbers that were more than ten...going forward on the number line (adding more).  Then we found ten again and noticed the numbers that were less than ten...going backwards on the number line (taking away).

Finally, we put it all together.  They chose a number circle and stated the number and put the correct number of beans on their ten frame (from left to right and top to bottom).  Then, at the beginning, they added more or took away the beans to make ten.  After they figured it out, they placed their number circle in the correct column, either with the plus sign or the minus sign.  You know what was exciting for me?  By the time we were finishing up...they didn't have to actually add or take away the beans to know which sign they number circle went with!  It showed to me that they were internalizing what 10 on the ten frame looked like and what the terms add and subtract/take away looked like.  Success!
Like I said, there are many ways to use this mini math kit.  I'd love to hear how you would use it/or have used it with your students!

Some pics of other things we did today.  Fine motor, scissors, sensory, art...


Friday, March 23, 2012

Letter Y

We had LOTS of fun with the letter Y. 
By far, the favorite activity was...
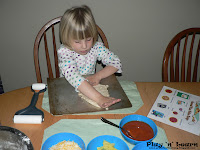
Yogurt Fingerpaint!
 
 
I used vanilla yogurt and they chose their first color (food coloring).  After some letter formation reinforcement they went ahead and explored (and ate) their paint.  Yes, they added various colors so turned into an interesting color mixing activity.  And T.!  WOWSERS!  He participated completely after I reminded him that it was yogurt and he could lick it off his fingers.  This is the first messy sensory activity that he really got into! 
Geoboard Explorations


Yarn Painting


Yarn Balls
Use for
* parachute play
* throwing practice (at targets).  We've also put a piece of tape across the floor and have tossed them back and forth across the tape until the a song is done on a CD and then we count how many are on each side.
* nonstandard measurement
* dramatic play (they were pretending they were snow balls...and that it was snowing, etc)
* counting, 1:1 correspondence
* graphing (if you have several colors of yarn balls).
* shapes/perimeter
* patterning if you have multiple colors
* letter/number formation
* art (make interesting prints)
* in place of bean bags in most bean bag songs/activities
* transitional activities-sharing time.  The person who is holding the pom pom shares or does a specific transitional activity and then tosses the pom pom to another child for their turn.
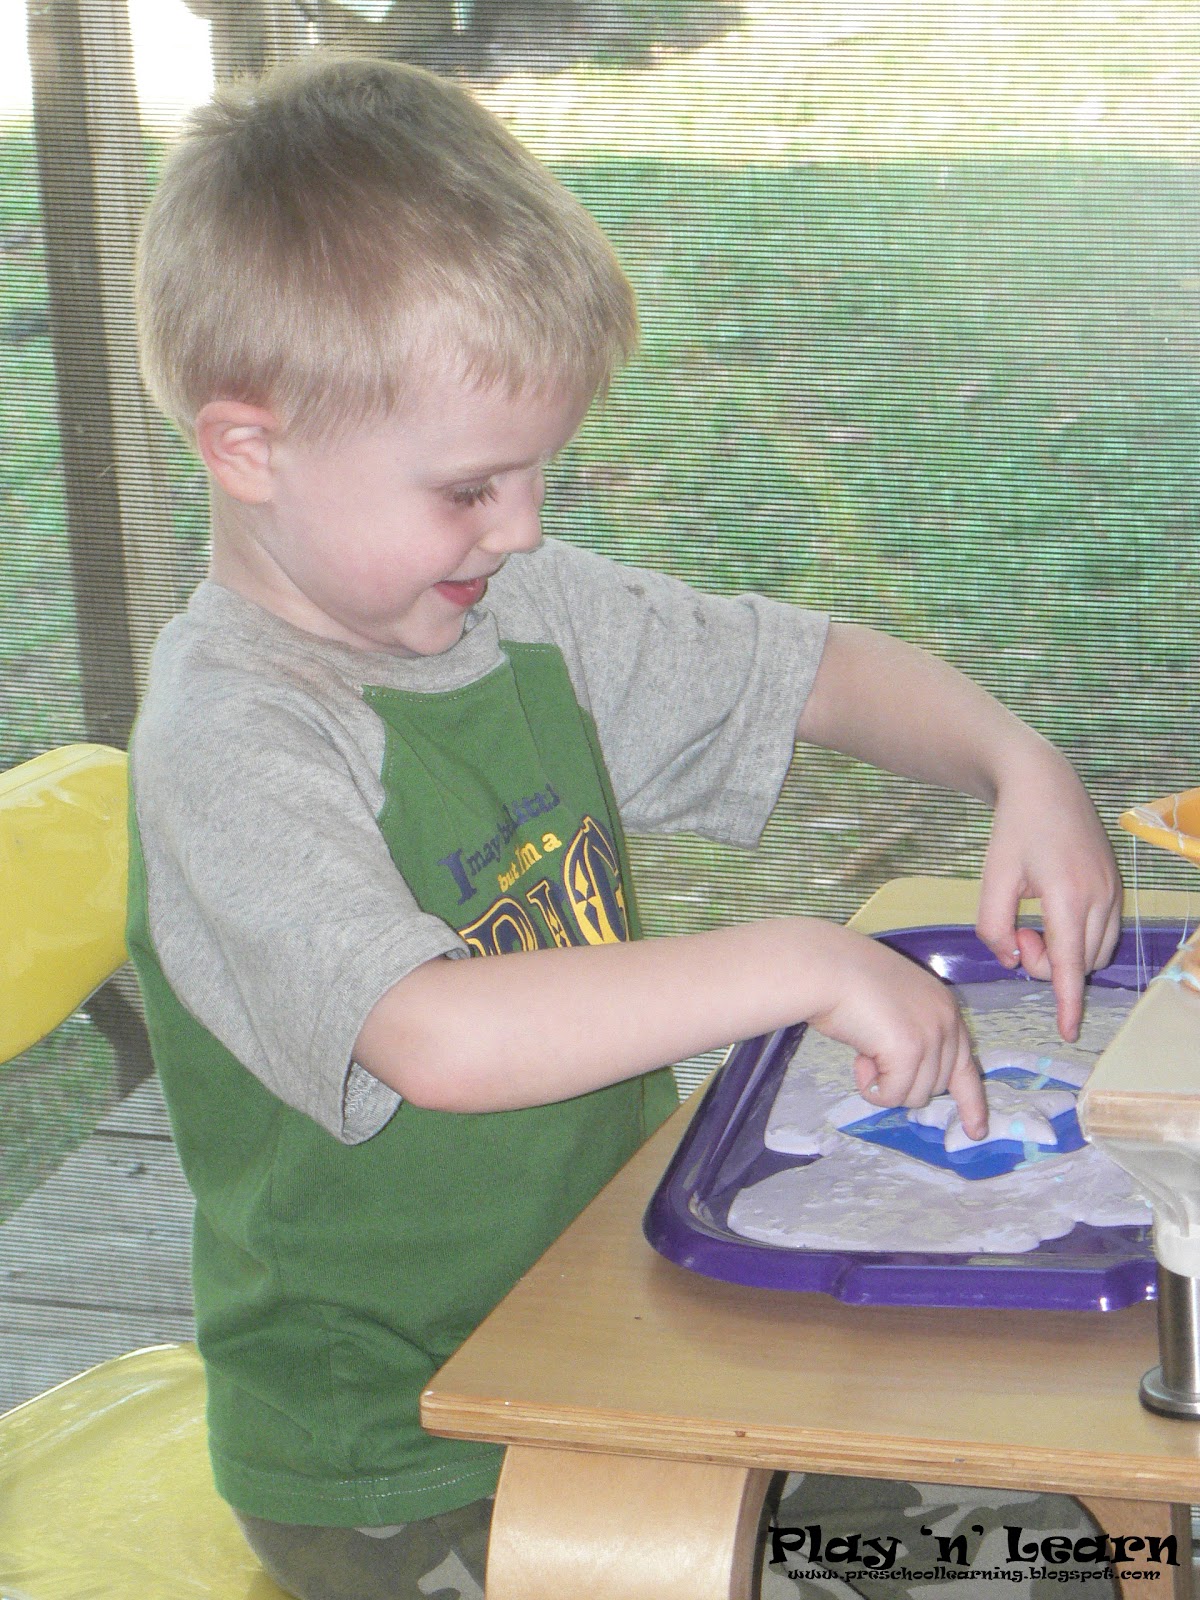
Y is for Yellow Yolks
We didn't end up using these as planned but that's fine.  We were going to graph the yolks by size but they were having so much fun as it was and we didn't get back to it.  So we'll do it on another day.  They did loved tapping the egg against the bowl to "crack" the egg and then letting the "yolk" fall into the pan.  They used a whisk with their eggs also.  They love this type of dramatic play.  Cracking eggs is one of the most basic cooking skills that they could really use a lot a practice with.  :-)  We do a bit of cooking/baking here and so they get some practice but with plastic eggs and pompoms they can practice all they want.  Wish I had white plastic eggs!  I've never seen plain white plastic eggs all on their own...anyone else?
 
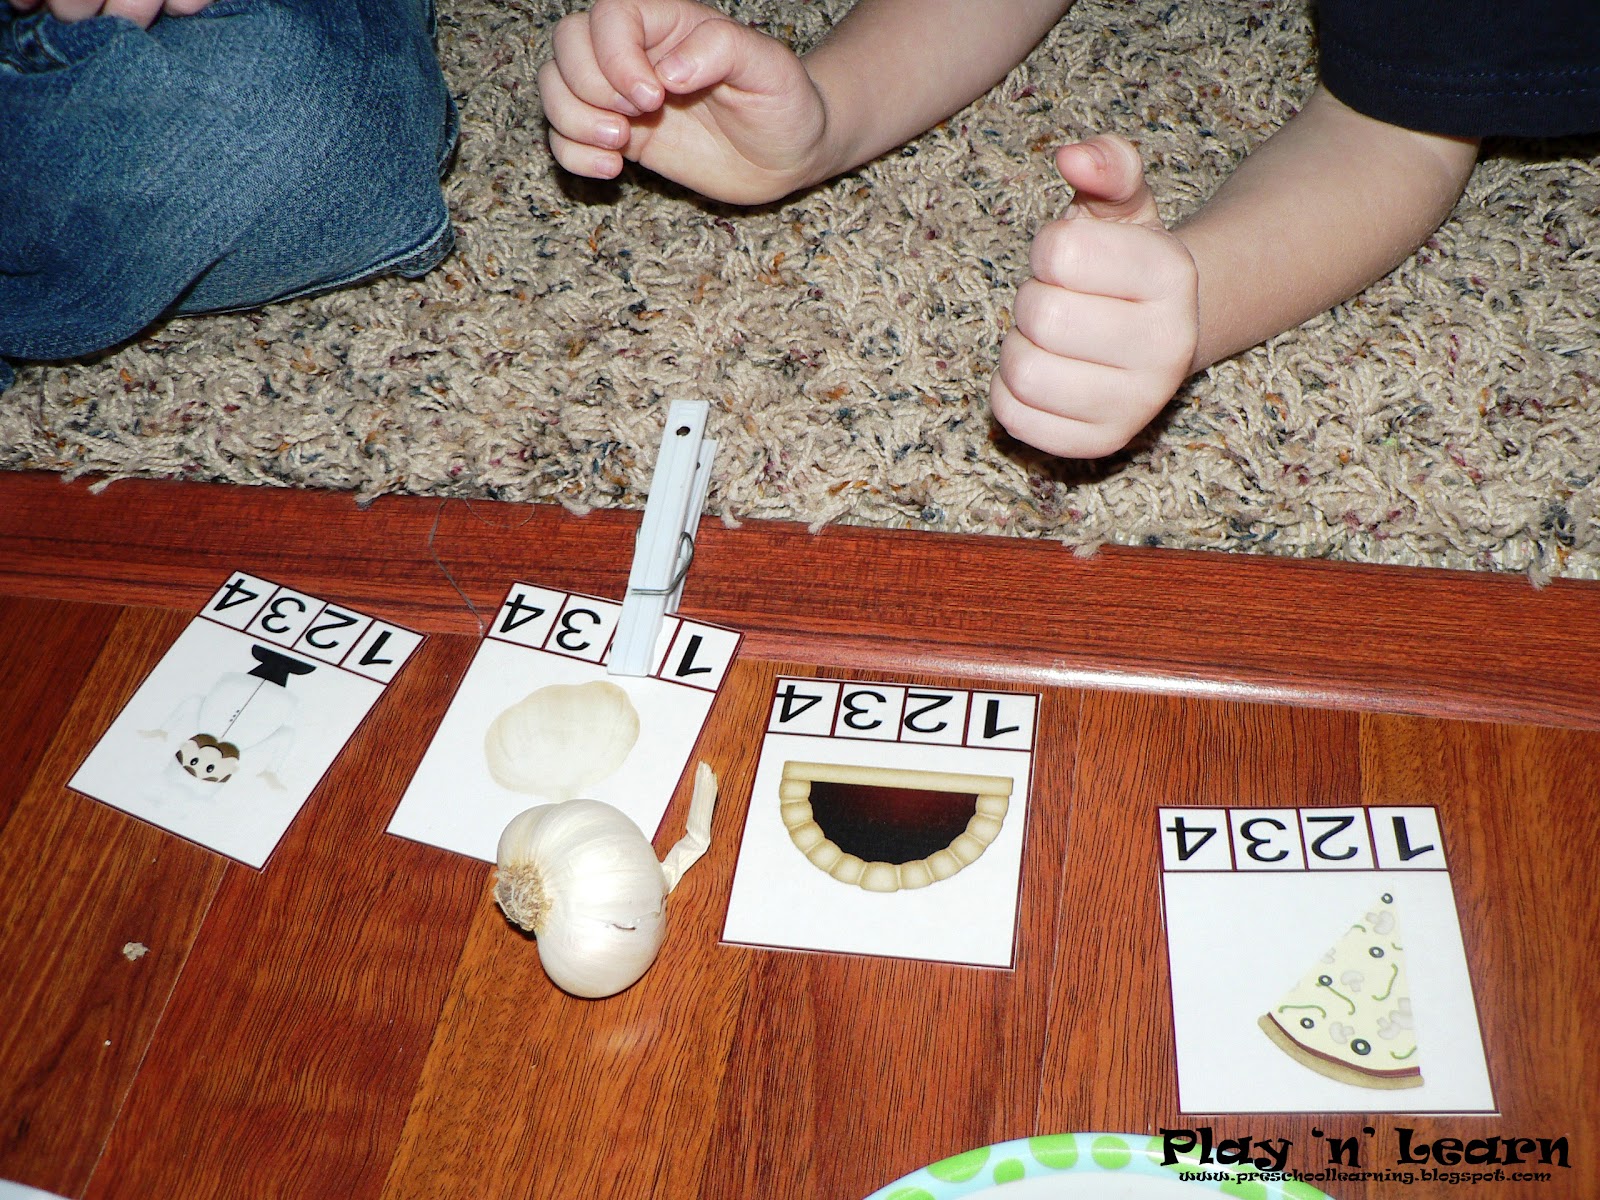
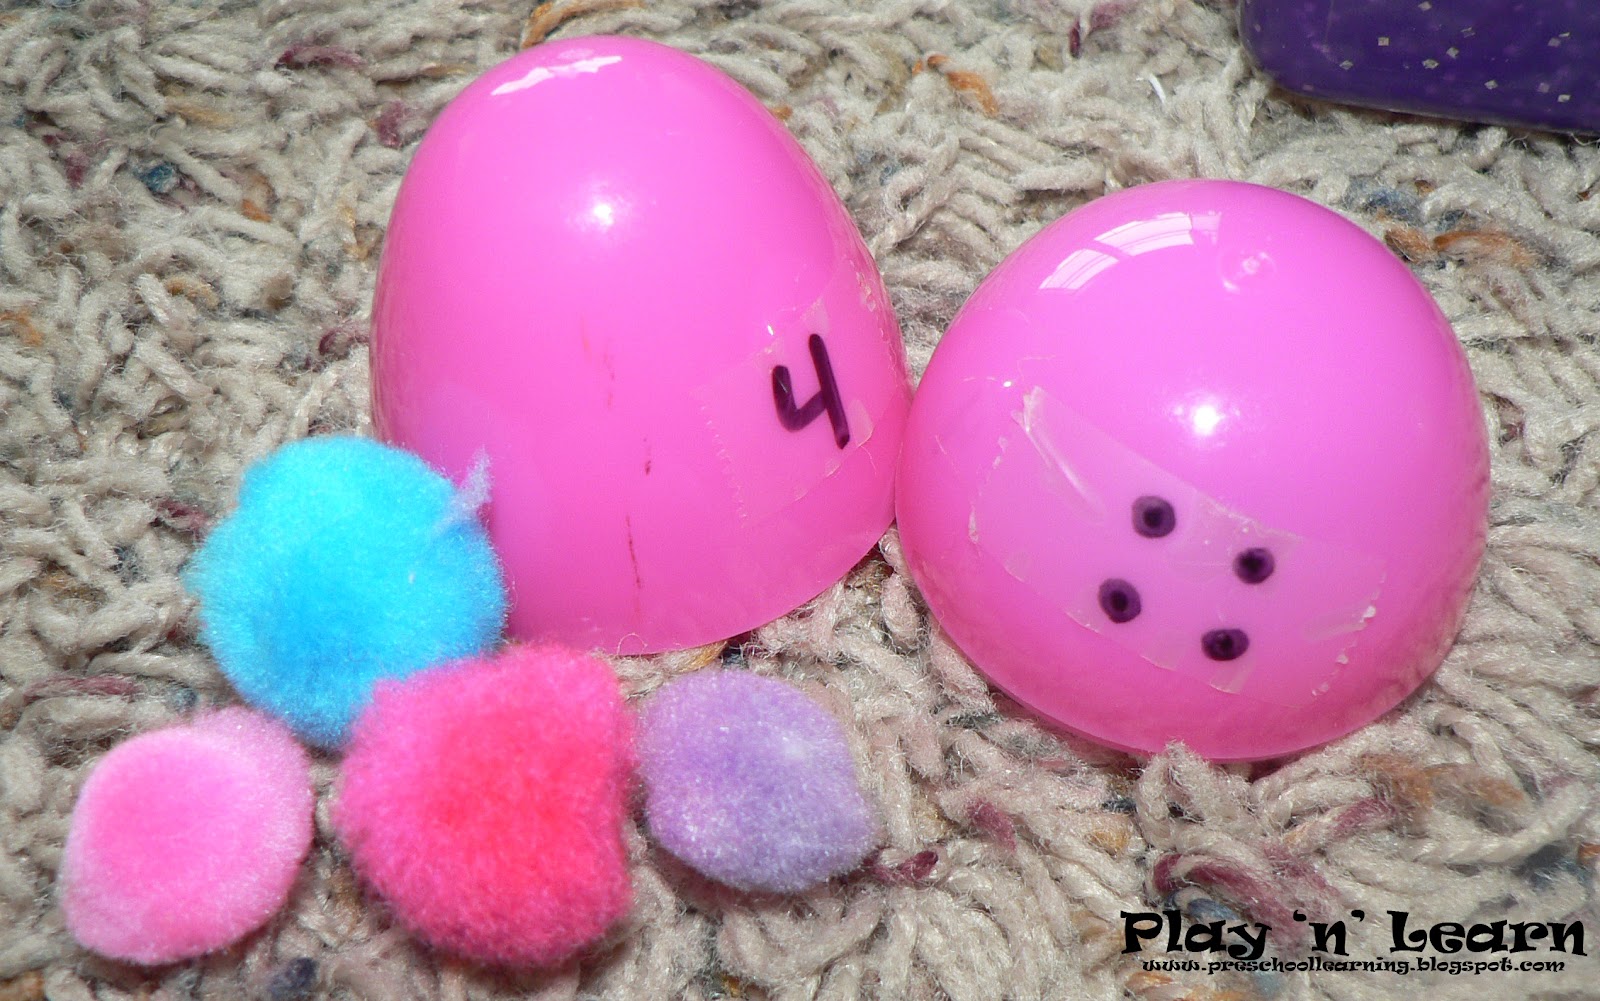
Another way we use these eggs...on each half I have a piece of scotch tape and I've used permanent marker to write the numeral on one side and the dice dots on the other.  Today they did match the egg halves on their own.  Typically what I do is provide colored pom poms and they put the corresponding amount of pom poms in each egg. 
Ways to make it a bit more challenging:
*  Use different colors for each number.  They then have to sort first and then count to place in correct egg.
*  Vary the size of pom poms.  They then have to problem solve because big pom poms won't fit in the larger number eggs.
*  Use more than one number on the same egg.  They then have to pay attention to detail to get it correct.  For example, in the picture above, number 4 and number 9 are both pink. 
FYI:  The children enjoy it when I add a sanitized egg carton for their play with 12 eggs.  This also reinforce that math vocab word: dozen.

Thursday, March 22, 2012

Letter X

Some of what we did this week for the letter X.  Letter X always seems to be a difficult letter to plan for.  But thanks to other bloggers we had a couple "new" activities for the letter X.  They were both enjoyed!  Neither of the first two activities pictured are very open ended so I made sure to have open ended art and sensory exploration activities also.

Fox in Socks
inspired by  Izzie, Mac, and Me
Definitely not an open ended project but I expected SOME variation from one to the next.  :-D  Look at the angles of those bottom two heads?  And the facial features?  Obviously I had left one of the children's fox where the other child could see it.  Typically if they want to see the other child's work that's fine but then I put it up on a counter where they don't see it for the duration of the project.  Otherwise, most preschoolers will feel it has to be completed in the same exact manner.
 
Prior to reading this book we talked about the sound that X makes.  We only touched on the X is for xylophone.  I do not care to reinforce the letter X with the word xylophone because really...the /z/ sound is not all that common.  So instead I often use pictures of words that have X somewhere in the word or at the end of the word.  So this activity shows that.  I used the ABC Twiggles  Letter X booklet for the pictures.  Just printed them so they were a quarter of the size.  Something that I was surprised at was that they didn't really get into decorating the socks.  I thought there would be a bit more of that going on as we've noticed patterns on socks and patterns in our environment but maybe it was just "today".
XRay Boy/Girl
inspired by Squidoo
 
I added a mirror and talked about the details we saw when we looked at our face before I gave them their circle for their face and a set of oil pastels.  This was our official scissors activity today as I had them cut out the block letter X before completing the project. They really got a kick out of the craft foam bones on the X.  :-D
XRay Counting
printable found at Jackie'sEmbroidery
We are beyond these counting sets but since the highest set was 9 I went ahead and used them and we also brought out our Touch Spot Number Mats again. 
Opened Ended Explorations

Painting with Texture Tools
I simply provided white paint on black paper, for the contrast but also to allow for conversation about x rays.

Slime
Slime lasts a long time!  The recipe can be found here.  So we had pink and blue slime...that even went out, accidentally, to the trailer and froze.  Then came in and thawed.  We rolled it in a bit more liquid starch and voila!  We are in business again.  :-)  Today I let them mix it.  So they got a shade of purple.  I love to use plastic stencils with slime.  All the children get a kick out of the slime popping out the top.

Well, lots of pictures of T. for this day.  Not intentional by any means. Just the way it worked.  But you know what...today he participated in every single activity we did!  Granted he used tools for the slime and the paint and had to wash his hands immediately after each...he still participated!  I loved watching him with the fox and xray boy.  He's definitely more of a preschooler now than a toddler! 

Thursday, March 15, 2012

Letter W

Short and busy week this week so getting to just one more post about our letter W week.  Weather and watermelon and other misc. W activities.  :-)
W is for Weather
Creating a picture bubble map....


Thinking about what we might see out the window during each specific type of weather and then drawing about it.

Maybe I'll just slip in here for you to notice the expression on the girl's face in this picture.  There is a sad face drawn on.  Please don't encourage your child/students to draw only "happy face" drawings.  We are never "happy" all the time.  I do understand that sometimes parents might get the wrong impression because they weren't there hearing the conversation or story that went along with it.  So I encourage you to just jot down the story and send it along with their work.  :-)  Because a child draws a sad face on their person does not mean they are not happy with being in your program or having you as a parent/aunt/uncle/teacher...whatever the case might be.  What that does tell us is that they are learning to express feelings!  In this picture, the child isn't "sad".  This picture the child is "shy", which is what the child was saying but after listening a bit more I encouraged her to use the word "scared" so that she's labeling the feeling correctly.  The adult word I would have used would have been "leery".  :-)  That hill is big, do you see?  The girl is scared to go down that big hill all by herself on the sled.  Note that she is not on the sled...but behind the sled!

Gluing on strips to make it look like we are looking out a window.
There is another "sad" picture here.  The top picture.  Her brother is now a baby (in reality he's about a year older) and "he's mad because he wants to walk by himself but I have to hold onto him because we need to share the umbrella and he's a baby!"  The middle picture are happy happy people because she was drawing about going to the park with her mom (did that over the weekend).  The bottom picture is obviously a scenery picture.  She's drawing a picture of our trees and my house and the play house.  :-D

Creating "curtains" and writing about the pictures.
Definitely takes more than one session but so worth the process!  See those sight words!  She drew the lines on the paper.  Note that they are getting smaller in between on the left curtain.  :-)  She is becoming to realize that it's a lot easier to write smaller.  This is also a sign of progressing development in writing! 
Science Experiment
A picture similar to what we did was uploaded by a user of Pinterest.  So no site to really take you too.  Was very cool!  Fill the jar partially with water and spray shaving cream on the top.  Use eye droppers top drop the colored water on the shaving cream.  Won't really do it as a "cloud/rain" experiment since there are other experiments that show it a bit better but what a very cool COLOR MIXING experiment!

Water Cycle Song
Tune: Oh My Darling
Evaporation, condensation, precipitation on my mind.
These are part of the water cycle,
and they happen all the time.
 
Top picture you can get at Maggie Lindner Water Cycle Lesson Plan.
The bottom picture is from www.kidssoup.com
Today, we were outside and we were having off and on spring showers.  Yes, we play in the rain when given the opportunity.  :-)  And the kids were in the playscape and pretty soon I hear...Evaporation, condensation, precipitation....  Love it!  We wiggle and raise our fingers with evaporation, clap up high in the air for condensation, and wiggle and lower our fingers for precipitation; we then sign water and rotate our pointer around in a circle for cycle.  Preschoolers LOVE big words!  And it's building a great vocabulary!

I had mentioned with the weather themed math kit that I added the dots to represent touchspots to the numeral on the umbrella mats (where the umbrella are various representation of the number). 
Just before using this activity I decided that really, I want a more hands-on approach to introducing TouchPoints so I simply created number mats with circles.
I really do not plan to do more than allowing the children to become familiar with the concept of touch points as they'll be introduced (depending on the teacher) in most elementary schools.  For our spots I used foam circles, the large size was just under an inch in diameter.  The small foam circles were 1/2 inch in diameter.  Feel free to print your copy of these number mats.  I did include numbers without circles and with circles with the thought in mind that I'll eventually make a set front/back so that those with more experience can add their spots without the guide circle on their numbers.

The TouchPoint image I used as a reference for the children can be found here.

U is for Umbrella
Inspired by Country Fun Lessons.
Obviously this was something we did last week with our letter U.  Well, we started it and...it didn't get finished.  So we finished this week.  


Rainy Day=Muddy Day
----------------------------------------------------------------------------------------------------
W is for Watermelon

Sewing Watermelon Seeds
 Fine Motor/Scissors
They first cut out their half oval and then used a yarn needed and black yarn to create their seeds.  The middle one was mine that I was exploring with.  I used black embroidery thread vs. yarn.  The yarn makes the seeds "pop" out but the thread makes it easier to sew.  So...explore on your own and see what works best for you. 

Watermelon Slushies
Inspired by JuJuBee Preschool
3 C. Watermelon- chunked
1 C. Raspberry Sherbet
1 C. Crushed Ice
4 tsp. Lime Juice
Blend together in a blender.
I wouldn't say these were a favorite but they were much better than I thought they would be!  The lime juice makes it taste like there is Sprite in it.  My husband says it tasted like Watermelon Jolly Ranchers.  The process of cutting up the watermelon and following a recipe and making something for a meal/snack is ALWAYS beneficial though!
We tried the melon baller today for the older children vs. cutting up strips of watermelon like we normally do.  HA!  It was good practice for rotating their wrist but yes, I did have watermelon catapulting through the kitchen and red juice on my walls and floor...but that all cleans up.  We had a good time!

Watermelon Maracas
A good ol' oldie!  Paper plate maracas.  After we cut the watermelon and half and saw how the watermelon's green rind went around the perimeter of the circle, they also painted the one side of their plate, green around the perimeter and red in the center.  We used tempera cakes so that the paint would dry quicker.  They used black crayons to draw seeds.  Fold in half and staple almost all the way around and put your chosen noise maker material out for them to put inside.  Finish stapling and shake!  They had a grand ol' time.  They even noticed how the sounds were different and so I led them to the conclusion that the more beans in the maraca the deeper the sound.

Watermelon Seed Counting
A very giving teacher has made this beautiful file folder game available to us.  You can get your copy at Kindergarten...Kindergarten.
Often, I don't actually create the file folder game out of a file folder because I don't have access to a large laminator.  So I cut out her pages, glued to colored paper and laminated on my personal laminator.  Kids loved this simple activity!
-----------------------------------------------------------------------------------------------
W is for Water
Animals That Live In or Like the Water

A great use of scrap paper to reinforce the shades of blue!  Children snipped at least one of each of the colors onto a tray.  
 
Then they used a paste spread to spread glue in a drawn in rectangle.  They placed their snipits in the glued area.  In the above picture, K. is gluing around the perimeter of her collage and is getting ready to fold the W side down.  Then they added stickers of their choice as long as the animal lived in the water or spent quite a bit of their time in water.
Water Bead Sensory Play
Cool!  I've seen these around on different blogs and could never find them in the stores.  Guess I just wasn't looking in the right spot.  So this week I went through the flower area at Meijer again and voila! I found one container.  Well, after today, we definitely need more than container so as soon as they stock up. 
We explored with putting the water gems into colored water...and yes, they do absorb the colors.  Makes it really neat!  So my own boys have tomorrow off of school so I'm going to put the now blue water gems into red or yellow water and we'll see what happens.  :-)  That color changing adds a whole new dimension to these gems!  Some have expressed concerns about choking hazards.  Any small sensory item can be a choking hazard so sensory (and most other activities) should be supervised.  Some mentioned that these can go "flat".  I've found that they smush and break apart easily.  We had "jello" in the bottom of today's container.  So I don't imagine these will hold to much use but so worth it!  We WILL be purchasing more!  I paid $2.99 for 25 oz container of Water Gems.
-----------------------------------------------------------------------------------------------------
W is for Wagon
These beginnings sound pictures came from
Even Mr. T. wanted to be involved in a wagon!
This is impressive!  He normally steers clear of anything with a glue stick since it gets his fingers sticky but he stuck through this activity...not the typical do one thing and say "I'm done."  He glued the wagon together and then wanted every single picture on the page to put inside of his wagon!  Then he told me he wanted me to put it up on the wall.  :-D  He did pitch a crying fit when I got involved with another child and didn't come right away to help wash his hands.  But once he got his hands washed he was fine.  So PROGRESS!  (For those that haven't been following... T. has some sensory issues.  :-P)

And the one of the things that, without a doubt, makes me smile!
My smile was even bigger today though!  It became very clear to me that K. recognizes the difference between a fiction and nonfiction text.  She was very "informational" in her reading today!