Monday, June 27, 2011

Monday K-Readiness

Theme Book: We read the book The Ants Go Marching illustrated by Jeffrey Scherer.  I had a hard time choosing this morning out of these three books...but ended up with The Ants as we were doing a number rhyming activity for our phonological awareness and I could use "ant" to reinforce the short a sound.

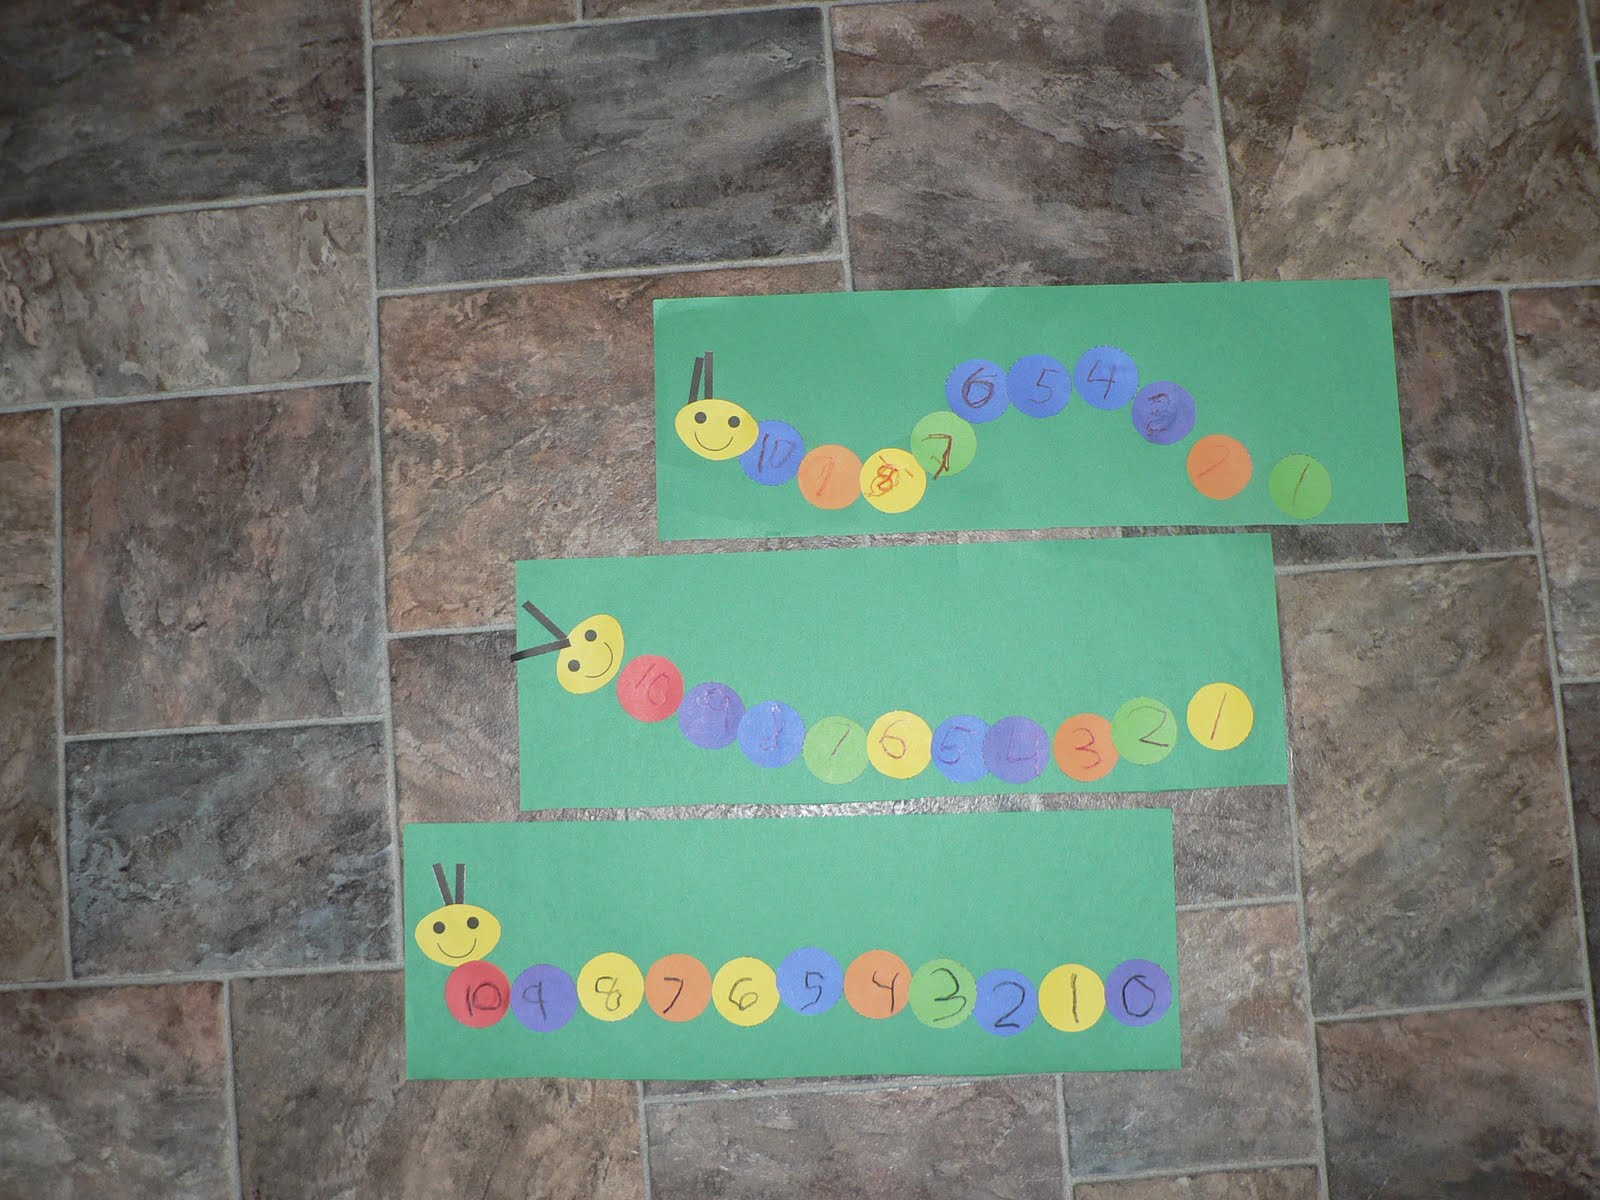
Phonological Awareness:  I had mentioned this activity in a previous blog but could not find a picture of it.  It's actually kind of hard to get a good picture. One makes raindrops (foam or laminated paper) with whatever basic concept you wish to review.  Child stands with the umbrella upside down and the raindrops inside.  All of us sing "Rain, Rain Go Away" and at the end of the song the child flips the umbrella so the raindrops all come falling out.  When I first created this activity I used number raindrops and we ordered them.  The more raindrops inside the umbrella the more of the "effect" of it raining.  The children love it.  Today I used raindrops with the numbers 0-10 and then a corresponding rhyming picture for each number.  So 0-hero, 1-sun, 2-shoe, 3-tree and so on.  
I do like the foam rain drops as they are softer and more durable!  We used those rain drops during large motor.

Large Motor: Puddle Jumping.  Another hard one to get a picture of!
I used foam again.  A. set them out on the floor and after we ordered the raindrops from 0-10, we put some of them upside down on the foam puddles.  Then a child would jump over a puddle and flip the rain drop over, telling us what number it is.  Then they'd "run laps" around our 'circle' (talked about that before).  Wow, they were tired!  :-)  Good for them!  C. has an energy problem that most likely correlates with his allergies so we made an exception and as long as he was walking while the others were moving then that was okay.  Sometimes they galloped, walked like a detective, tried rolling but that didn't work very well and so on.  When they knew it was their turn they'd take a flying jump over a puddle as they came back from their last lap.  FYI, if you are allowing your child to run on noncarpeted floor I suggest skid socks or no socks.  :-) 

Moveable Letters:  We reviewed short vowel sounds, a-e-i-o and u  I sorted the pictures, vowels, and consonants in separate containers.  The child put the pictures on his page, then matched the vowel sound and finally added the beginning and ending sound.  We also reinforced "reading" the word by using the dot and arrow method (Teach Your Child To Read in 100 Easy Lessons).    This is a great way to provide a visual for sounding out and reinforcing that we go from left to right. 
Thought we'd move onto a few blends but I think I'll do another few days of vowels.  :-)  I'll be mixing up some of the vowels, not all five but 2 or maybe 3 of them.  I'm taking the route of some Montessori thinking of the pink/blue/green series.  I really don't think we'll get into green but my goal is that, the one child in specific, will have the pink (cvc-short vowels) down pat and green (blends-short vowels) down pretty good.  We'll probably stick in the silent e rule also as it's often used in beginning reading.

Not sure if you all do DVD's or not.  We don't have television but I do allow DVD's on occasion and computer games...all leaning toward educational.  One of my favorite is Word World and I've mentioned it in the past.  One thing I like about it is that the segments are only about 10-12 minutes.  I'm not big in allowing a lot of "screen time".  But this is one we made time for today.  It goes a little longer then Word World segments but very educational.  It's called The Talking Word Factory by LeapFrog.  Actually I like most of the LeapFrog DVD's...Letter Factory, Math Circus, Numbers Ahoy, and so on.  All very educational...just runs longer then I really would want them too.  :-)
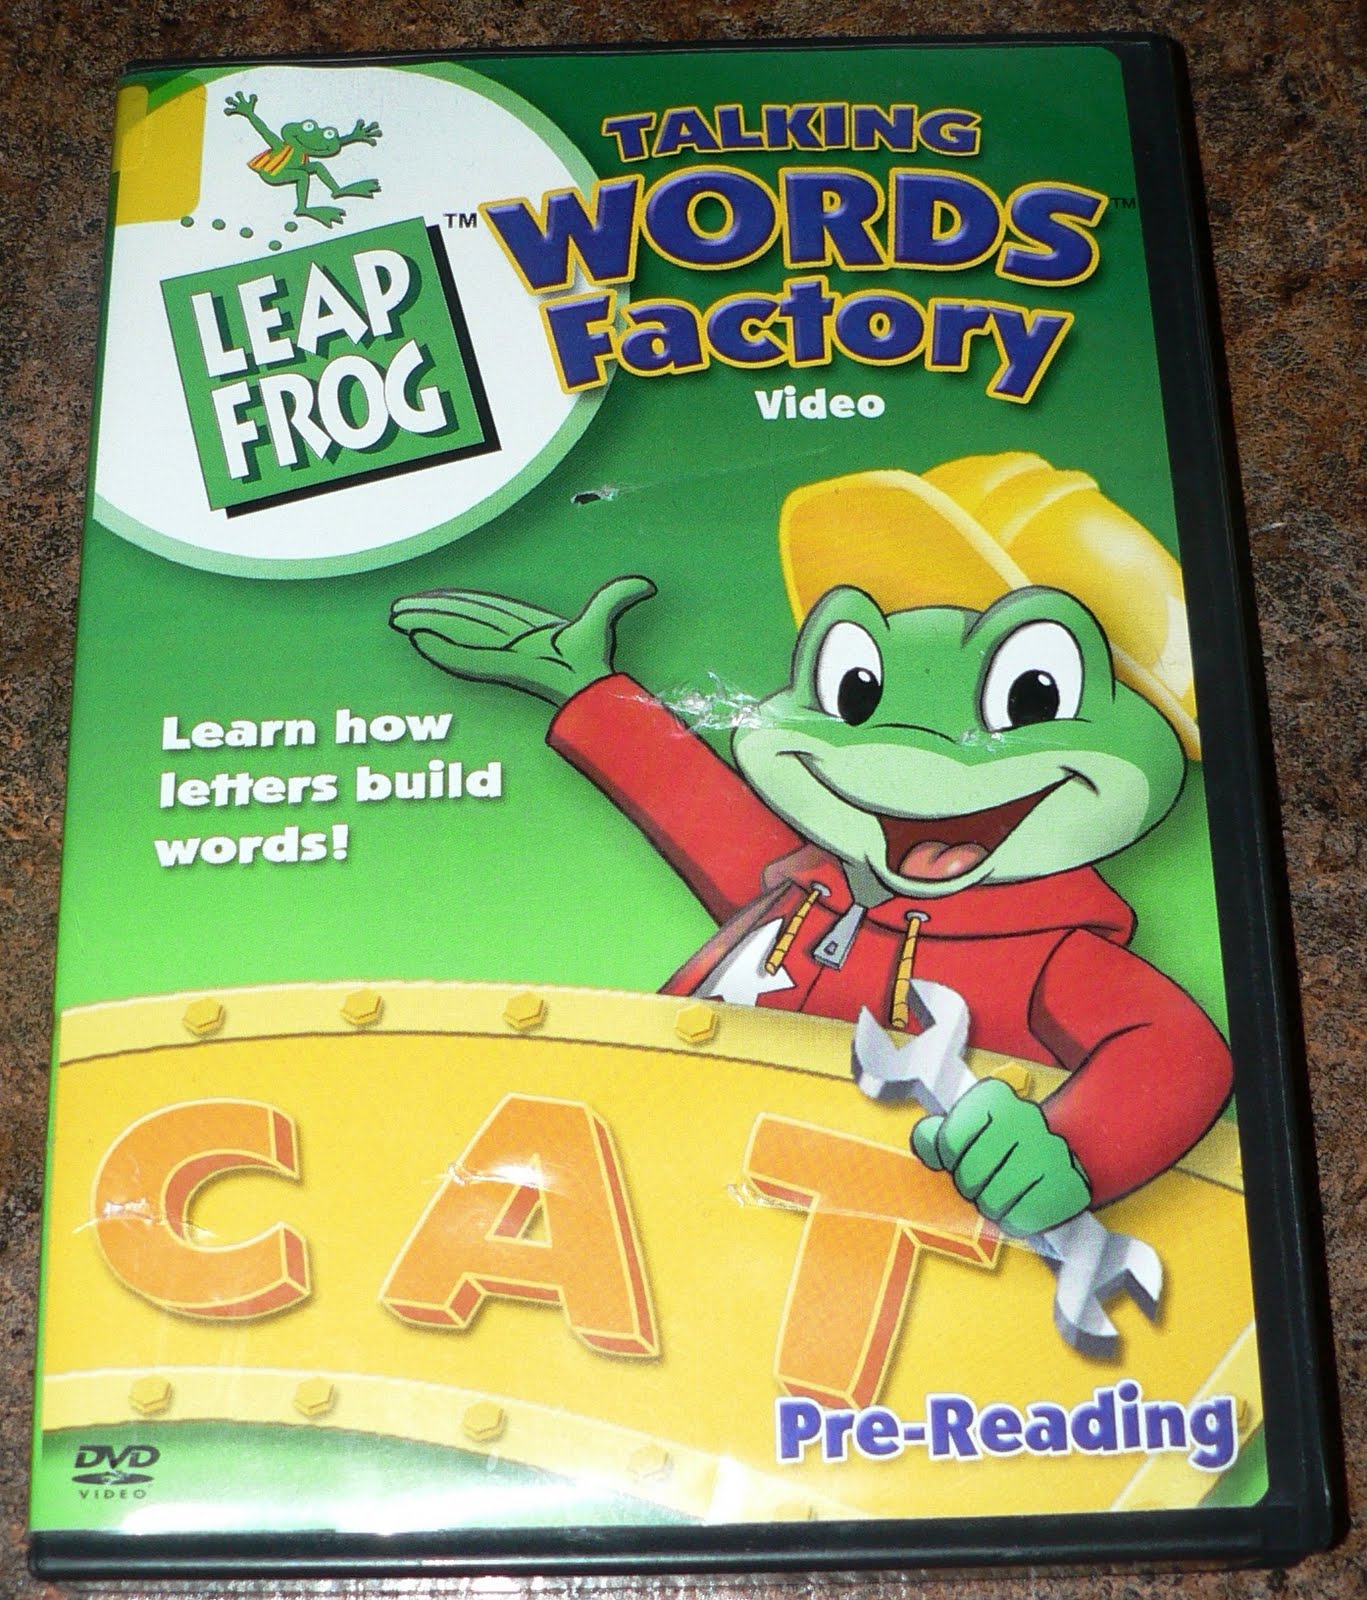
This one in particular talks about the short vowels and how they "stick the words together".  And it also introduces blends.

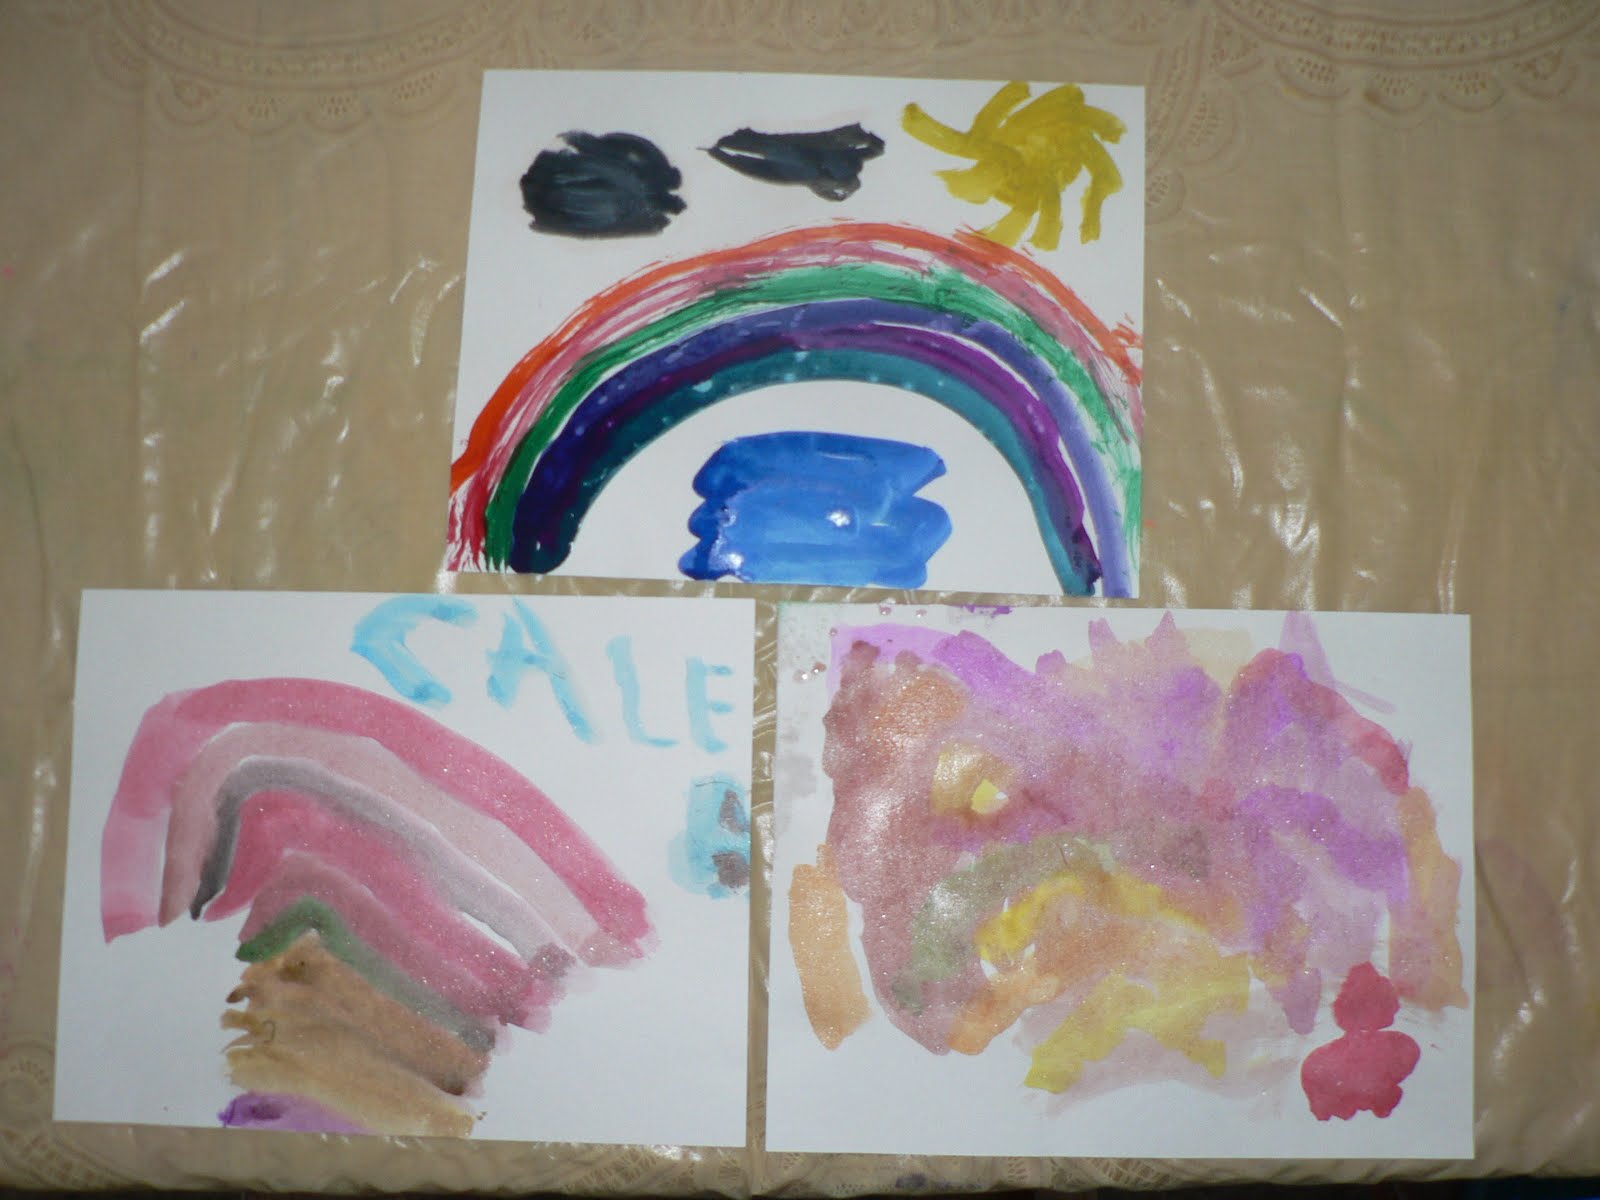
Art:  Still working on our color mixing.  We'll do a couple more "longer" sessions so we can get the book completed.  Today was blue+yellow=green. 
Inspiration:  www.theartgarden.info
Doesn't that one on the bottom right remind you a big of Vincent van Gogh's work? Must be the colors.  Need a bit more and we got a "Starry Night" going on.  :-)

If you've been following along you probably have noticed that with each color mixing exploration, we use different brushes.  Today we used our tactile brushes.  Remember you can make your own!  You don't have to purchase them.  Just fasten whatever you want to paint with to a craft stick or clothespin  :-)

Wacky Painting Tools

Scissors:   Wanted to incorporate rain/rainbow with short vowels so this is what we came up with. 
Can't see it in the picture but they wrote the letters a-e-i-o-u on the raindrops and on the other side drew a picture (my preK student had help from an 8 yr old...with my preschoolers I'll have pictures available for them to choose from if I every do this activity with them) of a word that had that short vowel sound.  You can see the ripples so can probably tell these are just half of paper plate.

Letter Formation:  On the same note as above...we created Rainbow R's on one side of a piece of card stock and for fun made a watercolor rainbow on the back. 
And T. decided not to nap...think he knows he's "missing out".  Guess that's fine as it'll get him ready for this fall.  Thank goodness for washable markers!  However, we can see all the scratches in the top of the high chair now.  He was saying "urple, urple, urple!" so that makes it all worth it!

Number Formation:  Number Bingo!  :-)  They were provided umbrella pages which A. used crayon to trace around and create a pattern so we could reinforce patterning.  Then the children wrote the numbers 0-15 randomly in their umbrellas.  Side note:  If you have a child that finds writing a challenge then create larger umbrellas!  :-P  At five they are starting to write smaller but for those children who do not have great control, they need a larger space to write.  
Of course, the Skittles were their favorite part of it all.  :-)  I found out one child didn't know what "4 in a row" meant so you should probably clarify that...show what you mean before you get started by putting 4 items in a row.  A good time to reinforce some vocab!  Horizontal, vertical and diagonal. 


Sunday, June 26, 2011

Follow the Reader

Ah...one benefit to having a trailer at convention time is that I can plan a few extras for that couple of hours between breakfast and our first meeting of the day.  :-)  That helps our mornings go so much smoother!  Here's one item I found up in the closet today that will be going with us.  I had forgotten about it...if you can believe that! 
The first spread of pages is a welcome page where the children can say "hello" to each of the trains.  Can you guess why I like this spread of pages? Clue:  check the arrows.  Left to right.  Ah!  :-P  Let me reiterate that going from top to bottom (which is the arrow on every spread of pages) and left to right when reading and writing is not "natural".  Actually, the brain works the opposite.  So the more we can help the children become comfortable with the top to bottom and left to right progression the more successful they will be at reading and writing. 

Saturday, June 25, 2011

Magneatos

Decided that maybe I'll share some of the toys/manipulatives that we have around here.  :-)  We love Magnetix and so when they came out with the Magneatos (which great-grandma came across first) I really wanted some for our program.  Magneatos are really just a larger version of Magnetix...so I can leaves these out on the free play shelf without any concerns. 
Magnetix              and              Magneatos

I find that both of these toys are a bit on the expensive side, so it did take me a bit to actually purchase the Magneatos, but glad I did!  They are holding up well.  The one downside is my toddler who loves balls and you throw balls, right?  OUCH! Those magnetic balls hurt!  So now we are encouraging him to roll balls in the house and throw balls outside of the house.

I store them in a dollar store plastic dish tub, at the moment, as I don't have a Sterilite tub for them...yet!  And then when I go to put them in storage, out in the garage, I place all the items in a 2 gal bag to keep them relatively clean.  Been working out alright. 

Would love to hear about things you or your children enjoy!

Friday, June 24, 2011

Toys!

I think I love toys as much or more then the children...even if I'm not playing with them.  :-)  I love browsing the toy aisles at the stores.  It's not just for the kids in this family.  LOL  Lakeshore Learning/Toys to Grow On and Discount School Supply I enjoy purchasing toys from but I also find many from Amazon.  So, as you can imagine...we have a LOT of toys/mainpulatives around here.  Here are some toy organization suggestions that we do in preschool that work well for home:

*  One thing I've brought home from my work experience, even before opening up as a family child care/preschool, was that of rotating toys.  Having a toy rotation makes life much more enjoyable for a family with young children.   Why?  Because when you switch toys they become like "new" again.  Also, less if often better.  Helps children learn to do with what they have.  Oh, it's so fun to watch the children on the first day of switching toys.  A suggestion...if you can't handle a bit of disorganization for a small bit I recommend you switch out toys more regularly-one set at a time vs. all of them every two weeks or so.  We typically do a complete toy switch out and so the first day with the "new" toys, especially if you have toddlers around, they are all out on the floor.  But that doesn't last long.  After the first day they are back into making sure they get put away.  It's just the excitement of the "new" toys.

*  Have a toy shelf vs. a toy box.  I've been in homes with toy boxes and what do the children do?  Pull everything out and very seldom do they play with much of it.  It also causes the toys to not last as long because at clean up time they are all dumped back into the box and the more often that is done the more apt the toys is to break.  Little pieces fall into the box and so sets are not complete anymore and so on.  Do you and your child a favor and help them appreciate a little order to the toys.  They'll find it's so much  more enjoyable because they can find exactly what they want at any moment. 

*  Sterlite containers!  I love Sterilite.    Go for quality since the kids will be using them.  Don't want to have to replace them every time they crack...which is one reason why I choose Sterilite.  They tend to last a lot longer. (We do have the expectation that the containers are for storage and not for playing with.  We have other containers for playing with!) Okay, so why plastic containers? 
  1. They have a lid.  Keeps it all contained and then I can stack them up so nicely in the closet, especially when they are the same size/brand, when it's time to store them.  I also can purchase whatever size I need.  
  2. To expect a young child to put the pieces back into their original box would take clean up way too long!  
  3.  It allows for children to find specific pieces without dumping the whole set out as there is usually "wiggle room" inside of a container. 
  4. Keeps our toy shelf organized and allows the children to easily remove the toys from the shelf and take them to another part of the room.  Unfortunately for us, since we remodeled the shelf has to be in a very small walkway and so if they sit down there in front of the shelf we have the path to the bathroom blocked...and really, we don't the children sitting in front of the shelf because it causes problems with the other children.  So having the toys in a container allows for easy transporting. 
  5. It allows for easy labeling!
*  Label.  Yes, this can seem a bit time consuming but it's SO worth it.  Even toddlers can match toys to a containers with a label.  Most people have digital cameras anymore.  This is very handy but if you don't, you can usually find a picture of the set on the Internet to use.  I take a picture of the toy or set of toys that belong in the container and then print, attach to the container by covering with packing tape.  I strongly suggest you add the print that goes along with the toy.  And, consider taking it a step further.  :-)  Print two copies, one for the container and one for the shelf.  Laminating is the way to go.  They last a lot longer.  The children then know right where to put the item on the shelf.   Just take the label off of the shelf and store in the toy container for next time.  Side note:  I also have toys around the perimeter of the living room as some are too big for the shelf, so I just place the label on the wall where I want the children to place the item when they are done with it.  We've gotten away from this whole technique this last year because of various reasons but it became frustrating to me because I had to constantly organize...or the children couldn't find something they wanted because it wasn't in the same spot (speaking for the young ones) and with Trent and possibly another toddler-soon to be preschooler this fall...it's on the top of my list to have back in place by September.

Another note about toys...we have the issue that I, as a child care provider, can not have certain sized items accessible for children under 3.  Well, I have an almost 6 year old and an 8 year old.  Also, my older preschool students are well past the "baby toys".  So I have an extra shelf in the boys' room that has the small piece sets.  Just keeps it all separate but still organized.  I also find that we tend to leave Legos, Knex and such out all the time instead of rotating them.  I use this shelf to also store small piece toys that I wish to use with the younger ones, under supervision because I need them easy accessible (for me) and I strongly believe that part of the reason why we have such a delayed fine motor epidemic by Kindergarten/1st grade is because children just don't play with toys with small parts because it's "not safe".  Oh, I think I've posted about this before so I won't go into it today.  :-P

*  As a preschool teacher/child care provider, I also plan which toys I'm going to have out.  If I can make them theme related. all the better!  But mostly I think...fine motor, gross motor, alphabet, numbers, shapes/colors, dramatic play, puzzles, science, music, blocks, infant/toddler.  This helps me to be sure I have a wide variety of material out for the children to work with.  Preferably I'd love to have writing and art materials out but as it's in my home and I have a mixed age group...I haven't had success with that!  So we have daily opportunities that are a little more structured.

--------------------------------------------------------------------------
Thought I'd share one of the sets we got out today.  Sometimes it's nice to see some toys that others have used.  :-)  If you have some that are popular with the children or popular with you because of it's many benefits...I'd love to hear about them!

Spatial Relations Play Set
$12.89

This is how it often gets used when out for free play.
But it is a great set for spatial relations and encouraging children to use positional words.  I tend to encourage a lot of descriptive language and this play set has been a boost for that as I'll encourage them to tell me about what they see using descriptive words.  There are about 20 cards to go along with the set.  Sometimes we use them, sometimes not.  This is a lovely set for fine motor development also.  Here is another picture for you since A. asked for me to take a picture because "it looks good...it's my invention."  :-P


Just wanted to add that I'd be interested in how you organize toys.  Always looking for new ideas/suggestions!

Wednesday, June 22, 2011

Rabbit Stew and Short Vowel O

Well, that was quite a morning!  Very profitable in the sense of the activities and the work the older children did but the two youngest weren't "cooperating" and so though it was a profitable morning, Ms. Amber is a wee bit exhausted!  :-) 


So we started with our journal (younger student also doing the calendar and High Frequency Word Book): I stated the topic word "pot" and since we were using an actual pot for an activity I used it as a prop since I really didn't want Aaron (8 yrs) to be drawing a toilet.  LOL  So it was more of "what's in your pot?"  I got "cooked onions-see the smoke coming out the top.  You can't see the onions because it's in the pot" (which was on a stove, by the way).  And I also got meatballs.  Our third student came late and so missed journaling, and Aaron chose to make "alfebet" soup.  He printed his sentence as well as wrote it in cursive.  For a child who does not "know" cursive, I say he did a good job!
Our book today was Rabbit Stew by Donna Kosow.  You can branch off of this book in many different directions.  If you haven't read it before, check it out!  One of the children noticed my label in the inside.  "Amber Clarke-w/ Canton, MI address".  :-)  Oh my, guess I've had that book for awhile!  So that observation led into the conversation of how long a book will last when we take good care of them.   
Our moveable letters were the short vowel o.  We started by writing pot and dog on our board (connections to our book) and talking about the English language and how sometimes the vowels change their sound when they have a buddy-in this case "og".  We did some rhyming also at this point. Then we moved to our letter tiles.

For large motor today we played Pass the Pot.  Sorry, I did get a few snapshots but none that I can actually post.  You'll have to picture it in your head!  The children enjoyed this.  Children sat criss cross in a line, like a train.  The first person in the line had a pot with tactile numbers inside.  Children were encouraged to show good posture and then twist their upper bodies and pass the pot to the person behind them until it got to the last person in line.  That person reached in, eyes shut, and chose a number.  I encouraged them to feel the number and tell me what it was before looking.  Then that person chose and then we did that action as many times as the number represented.  Here's one: be like a lightbulb.  Hmmm.  That's imaginative.  So when somebody says something like this then you just ask. "and what would that action look like.  Show us!" This child started low at the ground and jumped op saying "on" and then crouched back down saying "off".  I was a bit out of breath when we got through those! 

Our numeral formation activity came right from the book Rabbit Stew.  This became more time consuming then I thought it was going to be but that's okay.  Go with the flow.  First of, we always create a number line with the tactile numbers, which if you remember were in the pot.  So I handed the pot to Aaron and asked him to create our number line.  Well, that turned into someone saying, "Let's go backwards. " And then that turned to someone saying, "Let me put one on!"  Which then made us decide to go forwards because it would be easier to find where the numbers go.  So the children took turns deciding if the number went in the beginning, middle or end of the number line and between what numbers.  It was quite funny when we came to the last number and Aaron took it upon himself to do a "Ms. Amber"  LOL  He had asked the child what number she needed to complete the line.  She told him 6.  So he reached into the pot and pulled out a 4 and handed it to her.  She squealed.  It was quite hilarious.  So it went on for a bit until he finally pulled out the 6.  My point being was that you can have so much fun with such a simple activity.  Kids love to joke or catch an adult or older child in a mistake.  And the more fun they are having the more they will retain.
Okay...back to the numeral formation activity. 

We had a "pot" (an envelope cut in half) and inside the pot were vegetables and rabbits that I had cut and placed in so that they would have enough to make sets 1-10.The children dumped them out onto their tray and sorted by type.  Then they graphed them onto the pot graph.  After they glued them all they wrote the number at the top.  Then we talked together as a group about their  vegetables and rabbits (more, less, equal).  This really worked their fine motor.  Those itty bitty pieces of papers.  FYI:  I would not do a graph this extensive or use such small pieces for anyone younger then 4.  If you want to simplify it and make larger pictures, then go for it.!  The pot was hand drawn (obviously) and the pictures all came from Print Shop.

Our color mixing activity was red and blue.  We didn't read the whole Mouse Paint book again but did skim through it.  We used circle sponge applicators and a skinny paint brush.

www.theartgarden.info was my inspiration.
Our Letter Formation activity had nothing to do with this theme as I had meant to do it on Monday and didn't get to it.  So we did it today.  B Butterflies.  :-)
We did our Listen and Do activity and scissors.  Again our scissors activity came from the Word Family Helpers, a Mailbox publication.  I had each child do the "dot/arrow" method of sounding out each word.  I had a post that included that concept in  

Our phonological awareness activity went VERY WELL and I will so do this again! I call it "Sentence Building".  Children, during their preschool years-at least here!, learn about letters, and that letters together make a word and that words together make a sentence.  We also talked a bit about punctuation marks.    It was a bit time consuming because I used paper and sticky tack but I think I will go searching for my pocket chart and use either word strips or index cards next time.  So, we started with the sentence "The dog made stew." (Connecting our Rabbit Stew book.)  Then we went around the table (did this at lunch since we ran out of time) with each child telling me a descriptive word to add to our sentence.  Here are the first and last pictures.
The dog made stew.
The brown and white dog made yummy smart rabbit, potato, onion and tomato stew in a pot.

Yes, the commas were the older children's idea.  I should mention that I put the first sentence word strips on the table, mixed up and they all guessed how it went.  Aaron (8) pointed out that he knew "The" was first because of the capital letter...which led to a conversation about capital and lower case letters. 

We ended with the book...
A fun phonics book using -og word family words.


Tuesday, June 21, 2011

bug/short vowel u

Monday our focus vowel was short u.  So, of course that leads right into the word bug and what child doesn't like to do things with bugs?  At least pretend ones anyway!  Some get a bit dramatic over real ones.  :-P  So, our journal was the simple one word topic of "bug".  (While the older ones were spending more time on their journal, the younger ones were doing calendar and a high-frequency word booklet).  Then we moved onto our story which was Why Mosquitoes Buzz in People's Ears by Verna Aardema.  We are having a real issue with this bug bugging us!  So it was a fitting story. If you haven't read it before it's an interesting book to read to the kiddos.  The ending is quite fitting.  :-)

We then transitioned into our /u/ cvc words, starting with b-u-g.  I've posted a picture of our moveable letter activity in the past.  We are still doing it the same way so I won't post another right now.  We'll be doing a review activity next week with the short vowel sounds.

Then of course it's time to move!  We got the parachute out again and put on some stretchy bugs.
Parachute is always a blast for the kids. You can purchase them in so many different sizes or you can simply use a light weight blanket.  So, they tried to keep the bugs on as long as they could.  These really went bouncing high...often on top of the piano and out into the kitchen and a time or two they hit the ceiling. There was a bit of squealing going on because of it but that just makes it more fun.  Then after they were all off the parachute, they kept their hands on and I showed a bug card which they named and then we shook the parachute while we said the name to find out how many syllables were in it.  Then the bugs were put back on and we continued on that way for a bit.

Then it's numeral formation time. 
They simply created a caterpillar and wrote the numbers backwards (their idea) from ten to 1 or 0. 

Then it was art time but I posted about that yesterday so won't say much about it now.
I also forgot about our letter formation B butterflies...and then we ran out of time so we'll do those tomorrow.  We did our Listen and Do activity (following verbal instructions) along with our scissors activity.

This activity was reproduced from Word Family Helpers a Mailbox publication.

And I decided that part of our fine motor component would be game playing.  I found that we just didn't have time for that during the school year and playing games is very beneficial as they are learning to work together to solve problems, follow rules, take turns, learn about good sportsmanship, (paying attention to whose turn it is so they didn't annoy those waiting), and it's good for fine motor skills, especially if there are cards involved.  Remember that flipping cards over is great for developing/strengthening muscles in the hand and wrist which is necessary for good penmanship.
Our game yesterday (and we played it again today :-))...
 
Need a gift for a preschool age child?  This is an excellent game.  It took longer to complete the game then I expected when I first saw it.  Today we averaged going through 3 stacks of the cards before completing a game but it's pretty fast moving. They played three games in a row!  "No reading necessary" though it does use words (good thing too!) it has symbols also to give the children clues.  My 8 year old still enjoyed playing the game with the younger ones and to be truthful...I kind of had fun too!  Some board games (like Candy Land) drive me bananas.  :-P This one didn't.  So it has that going for it!

For our phonological awareness activity we use a borrowed story set from our local Regional Resource Center.  All brand new since it's a new resource to our area.  They are beginning to provide infant-preschool materials for us to borrow.  It'll be interesting to see how it all works.  I've been wishing we had something like this in the area and so I'm a bit excited.  It's a good way to try something out before purchasing it yourself also.  So, one of the student's favorite book is There Was an Old Lady Who Swallowed a Fly so we used the very nicely made set to work with sequencing and retelling a story.  I have some home made pictures for this story but the children loved (including Trent, now 2 years old) putting the animals inside of the woman. 
All made of thick felt and velcro.  Definitely something I'd consider purchasing.

All for now!  Tomorrow we are moving to the short o vowel and will do a bit with "pots".  :-P

Monday, June 20, 2011

Color Mixing

I can see that this summer the postings are going to be irregular...just a heads up.  :-) 

Today we started a series of color mixing lessons, idea from Carol at www.theartgarden.info.  We plan on creating a book of our work.  So, those of you who are parents of my students, your child's artwork will be here for a bit as we work through several sessions. 

We started by reading the book Mouse Paint by Ellen Stoll Walsh.  This is a great book to introduce/review coloring mixing with preschoolers.  Of course, take a moment to talk about the parts of the book, about the author/illustrator.  Talk about how the illustrations were made and so on.  Today I started reading the book upside down as well as changing a few words as we've read the book before.  This helps them really stay tuned in to the words you are saying because they ALWAYS like to catch the teacher/adult in a "mistake".  Starting the book upside down or going from back to front is a great way to see if your young preschoolers are aware of some very basic print concepts. 
So, back to color mixing.
Terms I use frequently with preschoolers (all basic color theory):
* color names (of course :-P) I use violet/purple interchangeably to get them use to both names.
* primary colors (red, yellow, blue)
* secondary colors (colors made when mixing two primary colors-orange, green, violet)
* shade (making darker with black)
* tint (making lighter with white)
* color wheel (a chart in a shape of a wheel that can tell us how colors relate to each other)
* contrast (I often encourage them to note the contrast when they have two complementary colors next to each other.  Light/dark)

others that I use with specific children depending on development and interest.
* complementary colors (colors opposite of each other on the color wheel)
* neutral color (black, gray, white and typically the gray-brown color made when mixing two complementary colors.)
* analogous colors (three consecutive colors on the color wheel)
* intermediate or tertiary colors (colors made mixing a primary and secondary color)
* monochromatic (one color...this is often talked about with one color collages or if they create a piece of work at the easel that falls under the category).
* polychromatic (more then one color)
* warm colors (reds, yellows, oranges)
* cool colors (blues, greens, violets)
* composition (how they have arranged their work)

Children LOVE big words...use them!  Maybe they won't remember it the next time they do something similar but you are already setting the tone for noticing and describing details.  It helps them feel good/confident about their work to hear someone use a "big word" to describe it.  It's setting the foundation for excellent vocabulary, which we know is one of the greatest factors influencing the ability to be successful in reading.  Feel free to keep a list of art vocabulary posted on a wall nearby until you know them very well yourself.  :-) 

So today was a very basic introduction/refresher lesson.  We read the book and talked about the primary colors and secondary colors and which primary colors mix together to make the secondary colors.  Always wise to have a simple color wheel on hand when you are doing an art lesson.  If you don't have one already, there are many available on the Internet.  Just search "color wheel printable".  (Here's a cool one that I found and plan to incorporate with our flower theme next year!  http://aggie-horticulture.tamu.edu/floriculture/container-garden/lesson/colorwheel.html. )The children used a chunky short brush and a long skinny brush to work with the colors red and yellow.  I plan to vary the tools for each session. I chose to use a 9x11.5 piece of white card stock for the first piece of work and then provide other paper for any additional explorations they would like to make. Their task for this first page was to
1) use the entire paper (which is why I only provided a 9x11.5 page vs. a 12x18 piece of construction paper) and
2) I would like to see all three colors-red, yellow and orange.
FYI: the top right hand piece of artwork was an extra exploration piece done by one of the children that was finished before I took the picture.   There were others still working.  Reminder: on the exploration pages...no suggestions.  They do what they wish with their supplies. It's sometimes SO hard for adults to just keep quiet!  It takes some work on my part, even after 15 years in this field, to bite my tongue and let them do and find out on their own.  Children learn best by doing.  If they ask questions or are concerned after the fact, then go ahead and "explain" if you wish but don't interrupt the process!

Hope your Monday went well! 

Monday, June 13, 2011

Beginning/Ending Sounds

Not a lot of time today either.  Busy busy...who isn't?  :-) So anyway...wanted to share this one activity...mainly because it's very simple.  I don't know about you but I'm always looking for new ideas and the fancier they are the more they appeal to me.  But really...it usually means more prep time for me and we all don't have enough time for that!  And also, the children do not need or expect really fancy activities.  You can make it fun by your own attitude toward it, adding a mystery component like hiding the objects/pictures around the room and so on.  But really, our own tone of voice/expressions often tend to "make or break" an activity.  :-)

In preschool, we do a LOT with letter sounds and beginning word sounds.  Toward the end of the PreK year we are adding quite a bit more of hearing the ending sounds.  It's harder for the kiddos then you would think!  When a child is accurate in sorting the beginning and ending sounds we move onto middle sounds as well.  These types of activities can be done informally, during transition times, on a car ride, while grocery shopping and so on.  Today we did a relatively simple listening activity.  Listening and hearing the sounds will allow them to be successful in "sounding out" words. Funny thing!  :-) Our focus letter formation character was Dd, which we practiced writing in dirt.   We had read The Napping House by Audrey Wood today and so that also led into talking about the short e CVC words (we explored with moveable letters using the vowel e and writing a list of real and nonsense words) as well as listening for the /d/ in bed.  There was also a dog as a character so we used the /d/og and be/d/ to sort our columns.  I simply printed off pictures that started with /d/ and ended with /d/ and we went through them individually and sorted into their correct column. 
Pretty simple!  I used sticky tack instead of laminating and putting magnets on them.  You can do this with any sound.  You can also sort your space into 3 columns if your child is ready for that (the middle column being for a middle sound...so dog, candle, bed).  If your child is still working on the beginning sound you can have 2 columns with a smile face for "beginning sound" and a sad/neutral face for "not the beginning sound".  If you do this, I suggest that the words that do not have your focus sound as a beginning sound do not have that sound anywhere in the word.  :-) 

Well, it feels like I'm doing more rattling then explaining well...sorry.  Hope it all makes sense.  Have a lovely week!  Sounds like it's suppose to be beautiful.  Hope so!  I have a brother in law, sister, and son all have a birthday this week and then Father's Day is on Sunday.  Hoping to have some company!  :-)  Want it nice since we have a small house.  Better for us all if the kids can be outside!  Oh, and we just got an inflatable pool/slide.  Been wanting one for quite awhile.  So maybe the kids will get to try it out this weekend!  The inflatable bouncer was a great investment.  Now we'll see about the pool.  :-)

Saturday, June 11, 2011

Language/Literacy and a bit more.

Literacy has so many components.  As mentioned in the past, many of them can be reinforced informally.  However, I do like to plan activities specifically for the different components as well, to make sure that I'm covering a bit of everything. 
 One activity we are doing first thing, during our summer program, is a journal.  This journal topic is only one word and is related to the story or book that will be used that morning.  Makes it a very easy way to transition to the next activity.  I use a one word topic to allow for a wide variety of responses.  Children are invited to share their journal but if they don't wish to, that is fine also.  There are many types of paper available on the Internet.  For fives and younger, I do recommend just blank paper with no lines at first.  After they are more confident with their writing, then move onto only one line at the bottom of the paper.  Our Kindergarten teacher also starts with blank or one line depending on the development of the child.  Then she moves onto lined penmanship paper.  http://www.printablepaper.net has SO many different types of paper templates, free to print.  That is where I printed off the penmanship paper with the lower line highlighted blue. 

I recommend a journal time that allows for the child to take as long as they want.  Unfortunately, it's not working that way this summer.  My older kids need more time but the younger one needs to move on as he's not quite as detailed as the other ones.  And though I have suggested they keep working, they prefer to do the activities with me so my kids end up finishing their's later.  But if you can, allow for them to work as long as they wish.  C. usually writes a sentence like I love the orange cat and the tiger and draws accordingly.  A. is eight and writes a paragraph and draws accordingly.  My youngest student draws a picture and is encouraged to write at least one word.  I provide an alphabet chart for them to refer to as they wish.  http://teachers.net/gazette/NOV02/printable.html (down the page a bit. pdf file called letterchart.)

So then we moved onto a story.  I wanted to do The Little Red Hen.  But my copy must have grew legs and walked off.  So the older kids all took turns reading Across the Stream.  This book's main character was a hen.  Oh, our journal topic was "farm".  So, of course, it led into the book about a hen and her chicks.  Watching and listening to older children reading a book is very beneficial to a younger child.  Then we sorted the capital letters of the alphabet by sticks and curves.  I really work on children noticing details in all things but it's especially helpful for them to notice how a letter is made.  In a previous post, I mentioned about sticks and curves.  In the past I have the children create the letter and then sort the letter into the correct column/basket.  But the children here have all experienced that and we wanted to move quickly through the activity as we were running a bit behind as a child arrived later then starting time so only used the sticks and curves with the ones they were unsure about. 
The hens get used for much more then what they were made for.  I have a whole set that I usually use for a number activity/display and I have smaller eggs that we place inside of the nest, the number of eggs corresponding with the number on the hen.  Anyway, they are laminated so I just drew sticks on the first nest, curves on the last nest, and both sticks and curves on the middle nest and we were set.  :-)  Thanks A. for writing all the letters for me!  He's 8 and has loved being a "teacher assistant" so far!

Then we move onto moveable letters.  The moveable letters is more for the child going into Kindergarten.  In this picture you can see I'm using letter tiles.  Over the next few weeks you'll see me change.  Actually, Monday I'll be doing something a little different since our focus short vowel is the same as it was in this picture...and he's already getting the idea so we'll challenge him!

The older two off to the left are writing the word on chalkboards. Then they'd all check each other's work.  A. is taking this time to learn to write in cursive. :-)  They haven't started yet but will in 3rd grade.  His cursive alphabet chart is from www.hwtears.com.

So after they have done their high frequency word booklet, calendar, story/activity and moveable letters, it is so time to get up and move!  So I plan an activity (typically math but it won't be that always) that involved some large motor.   The kids LOVED this very easy activity.  Hard to get a picture but here's one. :-)
The way our little house is we can open the doors from the living room to the master bedroom, and the master bath doors and it leads into the utility room, kitchen and back into the living room.  So we often use that "circle" for our large motor.  So for this activity, I had number/answer cards up on a door.  The four purple cards corresponded with the four types of farm animals available.  The child takes a purple card, reads the word (or looks inside for a clue) and all the children follow that child around the circle moving and sounding like that particular animal.  Then the child takes a subtraction card (upside down on a tray) and works the problem with the corresponding animal cards.  Does that make sense?  So if they chose cow, they moved and moo'd around the circle and then the child came back and chose a subtraction problem and worked it out with cows.  Then they told me the answer and we stuck it under the correct number on the door.  This leads into number families also.  I encouraged the older students to also work out the problem with the cards, even if they could do it in their head so that the younger students are able to see what is being done.  We did this for quite awhile.  Always read your child/group, if they are becoming disinterested, stop and do something else.

The other week we did the parachute, during large motor.  First we counted by ones, flapping the parachute, to 30.  Then I asked what other ways we could count to 30.  And we counted by 2s, 5s, and 10s, labeling it skip counting.  Then I placed 30 cats (labeled with a number and the number word) on the parachute and we tried to keep them on as long as possible.  When they were all out, they each were given a specific number of cats to pick up and we worked together to put them in order.  I created the cats to make a simple ABAB pattern as well.  This helps them self-correct a bit.
Sorry, didn't get a good picture but this gives you an idea about the cats.  This was the day we did Scat the Cat also, and was working with the short a sound.

Looking forward to Monday.  This is turning out to be a fun adventure!