
Definitely a cute book and so much you can do with it! Retelling this story with the actions is a lovely sensory activity for preschoolers and toddlers! And yes...these types of activities are great for helping a child get out of a grump or frump. :-P Perfect for today. They weren't grumpy but they weren't 100% today and the box of tissue and bottle of soap we went through today probably explained it pretty well. Actually, at one point I told K., I'm going to give your brain a kiss and then we are going to let it take a break out in the living room. In other words, we are done with trying to get you to focus and we'll do this stuff another day. :-D
And our favorite activity for the day...

One blog post that is often getting "hit" is my rebus recipe post. Unfortunately, I was just starting the blog then and it was more basic info vs. something extremely helpful like actual rebus recipes! :-) Now that I know how to link a printable, I hope to share more rebus recipes for children. Cooking with children has so many benefits! Following a rebus recipe helps children internalize left to right and top to bottom progression when reading, following directions, and be successful in independently "cooking". It's a great confidence builder! You can go back and read the previous post if you wish here. There are a few other rebus recipe resource sites listed there.


The recipe we used for dough is from All Recipes. I had planned just to thaw some frozen dough and have it ready for the children but alas, I went out to our extra freezer last night and...there wasn't any. Oops! I must have used what I thought I had in there. So quickly went searching for a no rise pizza dough. The dough I found is actually simple enough that the children could make it themselves. Very easy and pretty yummy too! I might consider doing this dough for our family but adding some herbs and such to the dough.
Ingredients
- 3 cups all-purpose flour
- 1 (.25 ounce) package active dry yeast
- 2 tablespoons vegetable oil
- 1 teaspoon salt
- 1 tablespoon white sugar
- 1 cup warm water (110 degrees F/45 degrees C)
Directions
- Combine flour, salt, sugar, and yeast in a large bowl. Mix in oil and warm water. Spread out on a large pizza pan. Top as desired.
- Bake at 375 degrees C (190 degrees C) for 20 to 25 minutes.
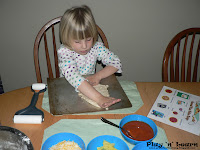
* I did make it ahead of time and so it sat and raised a bit. I separated it into 4 balls of dough to make 4 personal pizzas.
* We found that it's a lot easier to pat and press the dough out than use the rolling pin. But that could have been because I sprayed the pan with cooking spray.
* Plan 5-10 minutes of cooling time.
* Remember that if you are affiliated with a food program, most likely the children are not putting on the appropriate amounts of veggies/fruit (tomato sauce/pineapple) or protein (cheese/ham). So I add your fruit and veggie side dishes and a bit of yogurt (or something similar) with your meal of child made pizza. :-)
Download the Personal Pizza Rebus if you wish. Hope your children enjoy it as much as the kiddos here! I find that it's exceptionally fun for the kids to put a laminated rebus recipe in the kitchen area with corresponding materials.
I came across the book at Living Life Intentionally. She has a free pizza themed learning pack that is great for toddlers and preschoolers. I chose several from her pack to use today with the children. Check it out! Here's just a few activities that I used from her learning pack.
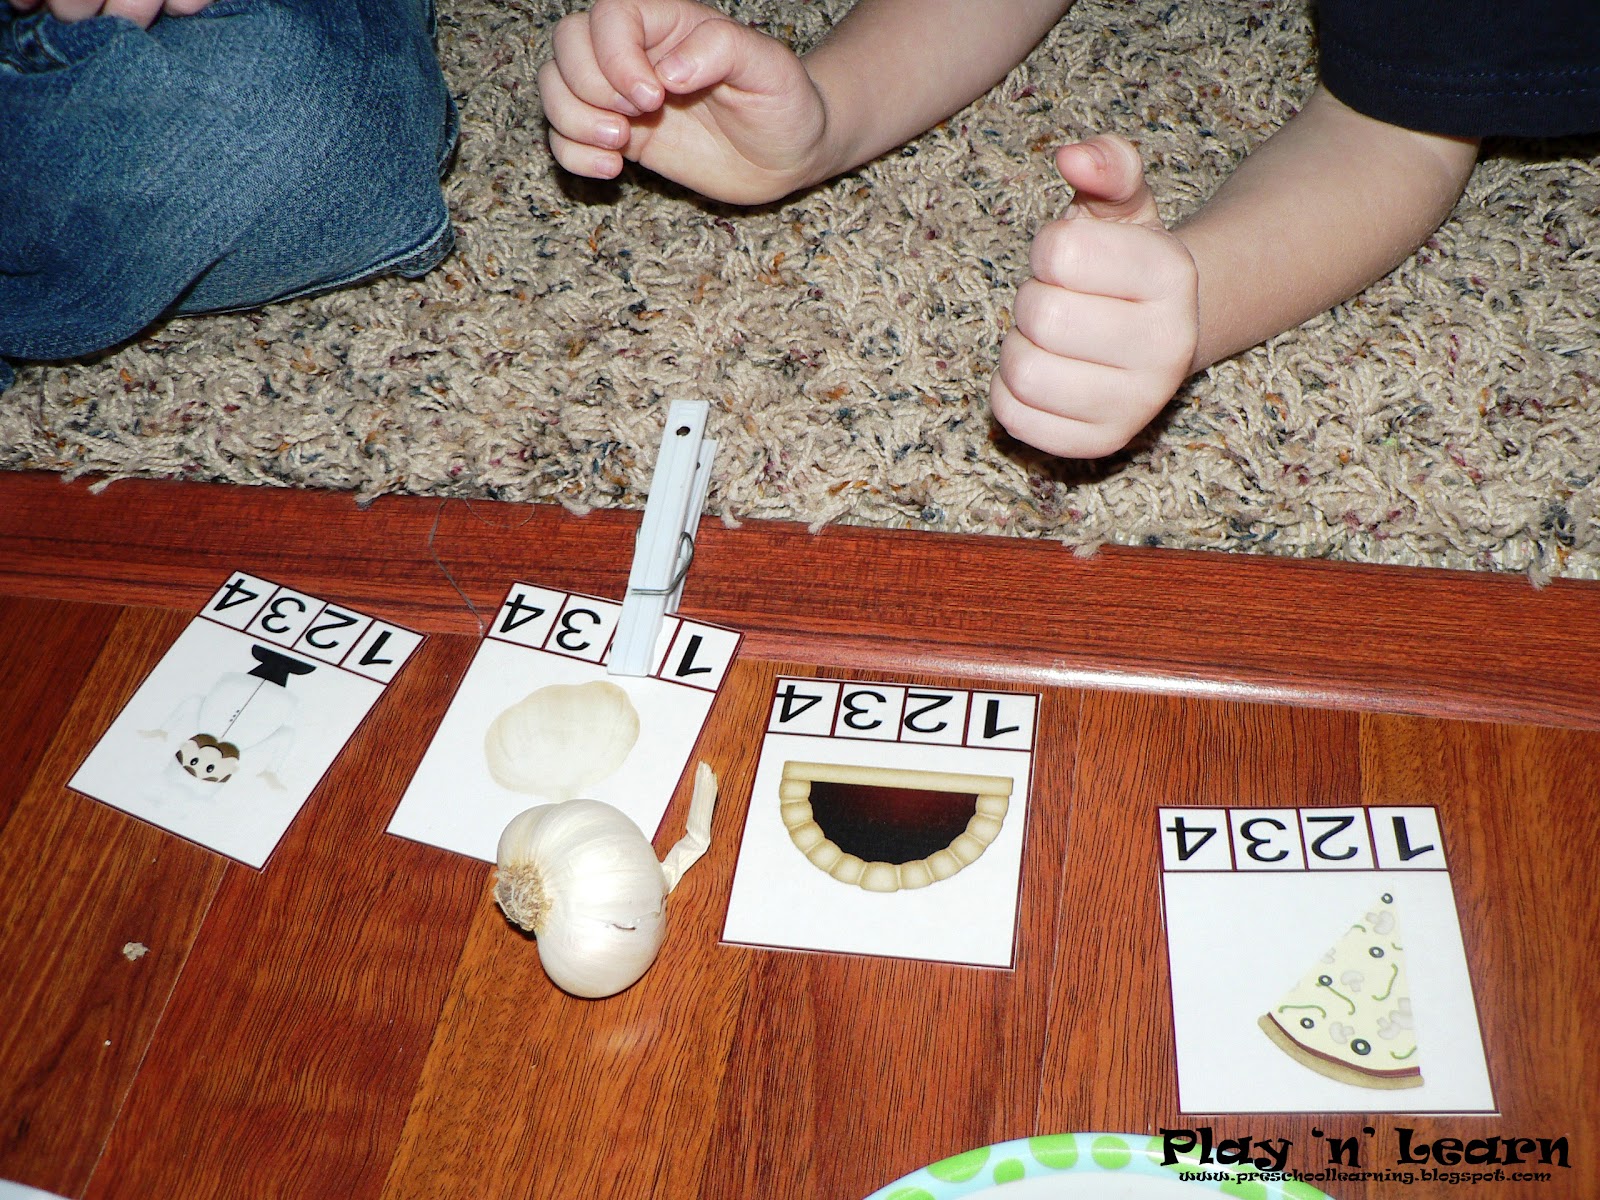

Pizza Vocabulary Word Chunks
(These same pictures are available using beginning sounds, as well.)
These pictures really sparked interest. One point of interest was the garlic picture. They really didn't know what it was, one child did guess onion though! So I pulled out an onion and a garlic and we talked about them. They were pretty excited when I opened up the garlic and let them pull apart the individual cloves. Got a little math in there too. How many cloves in this bulb, how many in that one? Which has more?

Making Pizza
I simply cut her pictures out and had the children think about how we make pizza and order them. Neither children had them in the correct order on the first try. But it was interesting to see them notice and correct it when I began pointing to their pictures and stating the step. Fun! Makes me realize that it's been awhile since I've had them tell dictate a recipe to me. :-) Maybe we'll get to creating a recipe book after Spring Break also!

Pizza Math
(Just a couple of the many math activities she has made available to us.)
On the left, K. was doing the pizza addition facts. She chose a pizza and created the two sets using beads, then pushed the beads together and counted them again. Then she placed the pizza next to the pizza cutter with the correct answer. On the right, H. chose a pizza, stated the numeral, counted that many beads onto his mat and then buddiedLOL)

Shadow Matching
Perfect for toddlers! He definitely enjoyed this and great for vocabulary!
And, of course, we turned the children into pizza!

He was very relaxed after I got done "kneeding and stretching" him. And the lucky one too since he's light enough for me to pick up (without my chiro getting after me) and place on the couch to be "baked". LOL The children used various colored pom poms for different types of toppings (tomatoes, mushrooms, black olives, and green peppers) and yarn pieces for the cheese.


